Showing posts with label accessories. Show all posts

Monday, May 24, 2010

The (mostly) Finished Product

Are you all tired of my laundry room yet?

(remember this and this?)
Good, because I'm not either.

(you did say "no" right?)

Anyway, I wanted to add a few more finishing touches (and have a few more to add later like a towel bar, but I will spare you all of those details!)

I started with a old frame and an old white board.  One was gold, one was white.  Neither color worked for me.  So, I sprayed them a fun turquoise-ish color, sanded them a bit and added some dark wood stain to age them a bit. 

Before:


After:


and


Then I made a skirt!

Before:


After:


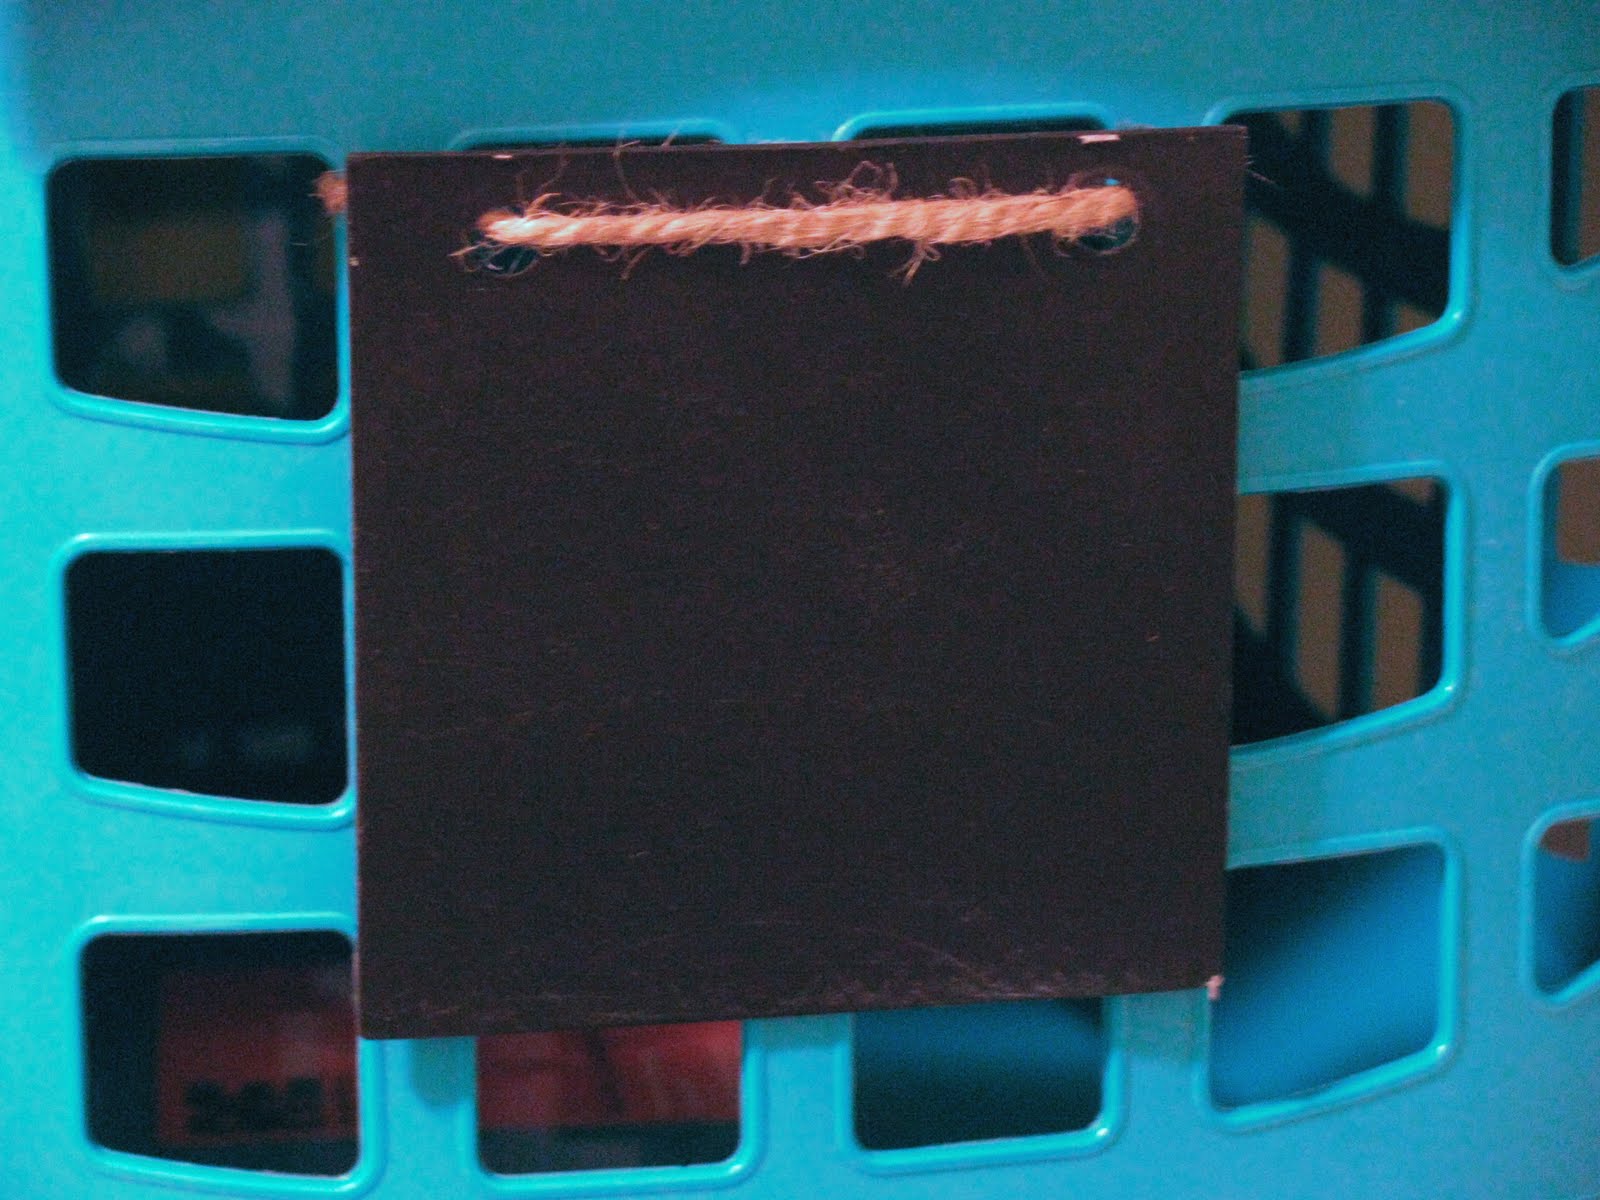
But, my MOST favorite project, was making little chalkboards to lable my laundry baskets.
I found these little chipboard squares at a local scrappbooking store in their clearance section.
They are actually suppose to be put together and made into a book, so they already had holes in them.

I sprayed them with a couple coats of chalkboard paint.
Tied them onto my baskets with jute.


Wrote the name of the basket contents and
AMAZING!
Sassy and my hubby are putting their dirty clothes in the correct locations! 


I was so excited that I found some regular cardboard, cut it into rectangles, painted them and attached them to some smaller baskets above. 

Oh I love my organized and bright laundry/mud room!


Monday, January 25, 2010

Hair Clip and Headband Holder ~ and a tour of Smiley's bedroom

I was tired of finding little clips and headbands throughout my house and recalled seeing an empty frame with ribbons attached to it used to hold little hair clip.

So the search began for an inexpensive frame.

I know there are lots of versions of these floating around the internet, but I had to show you my version.

I started with a frame.  Chipped, cracked and inexpensive.


Then, I found my handy dandy spray paint and primed and painted (dover white to be exact). Once that was dry I did a little sanding.


Added some cup hooks ~ for the headbands.


Measured out my layout for my ribbon and hot glued it on.


Once the ribbon was glued on it looked like this:


Hung it up,  clipped on some of Smiley's pretties, hung up her headbands and VOILA:


And since we are already in Smiley's room, here is a little tour:


(ah, the diaper genie ~ a design must)


(designed and hand painted by Jen from Hope Studios)


(personally, I think the crib model is pretty cute)


Well, that's it for today ~ have a great one!


and don't forget to go here for a little inspiration:


DIY Day @ ASPTL