Showing posts with label sew. Show all posts

Thursday, May 10, 2012

Sewing

Last night I had some pacifier clips to make.  Usually, I sew them up in my little, windowless, room in the basement (aka, "mom's scrapbook room")  But this time, I decided to bring my sewing machine upstairs and break-in the new kitchen island.


(purchased by a family member in January of 1977)


And, I had a pretty cute audience:


Wednesday, October 27, 2010

Minnie Mouse Birthday Skirt

I wanted to make Smiley a festive little outfit for her birthday.  Since she was having a Minnie Mouse b-day party, (you can see the celebration here and a cupcake tutorial here) I went with a Minnie Mouse skirt.

Nope, I didn't take any pictures of the process ~ oh well, it is super easy!

I wanted something Minnie Mouse~ish, with out being a Minnie Mouse costume.

So,
I purchased an inexpensive pink cotton skirt at Target for $4.00 (must have been on sale, because the website has it for $8.00)


and
Pulled an old t-shirt of mine, out of a box just waiting to be repurposed.

Ready?

I cut circles out of the white t-shirt.
Randomly placed them onto the skirt and.......
sewed them on!

For the shirt, I pulled out a long-sleeved t-shirt already in Smiley's closet.  Purchased iron on letters from JoAnn's (with a 40% off coupon ~ of course) ~ and ironed them on (I couldn't find the exact ones online).

When I showed Smiley in the morning ~ the first thing she said was "MINNIE"

Yay ~ success!


Have a great day!


Monday, May 24, 2010

The (mostly) Finished Product

Are you all tired of my laundry room yet?

(remember this and this?)
Good, because I'm not either.

(you did say "no" right?)

Anyway, I wanted to add a few more finishing touches (and have a few more to add later like a towel bar, but I will spare you all of those details!)

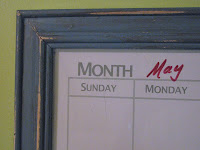
I started with a old frame and an old white board.  One was gold, one was white.  Neither color worked for me.  So, I sprayed them a fun turquoise-ish color, sanded them a bit and added some dark wood stain to age them a bit. 

Before:


After:


and


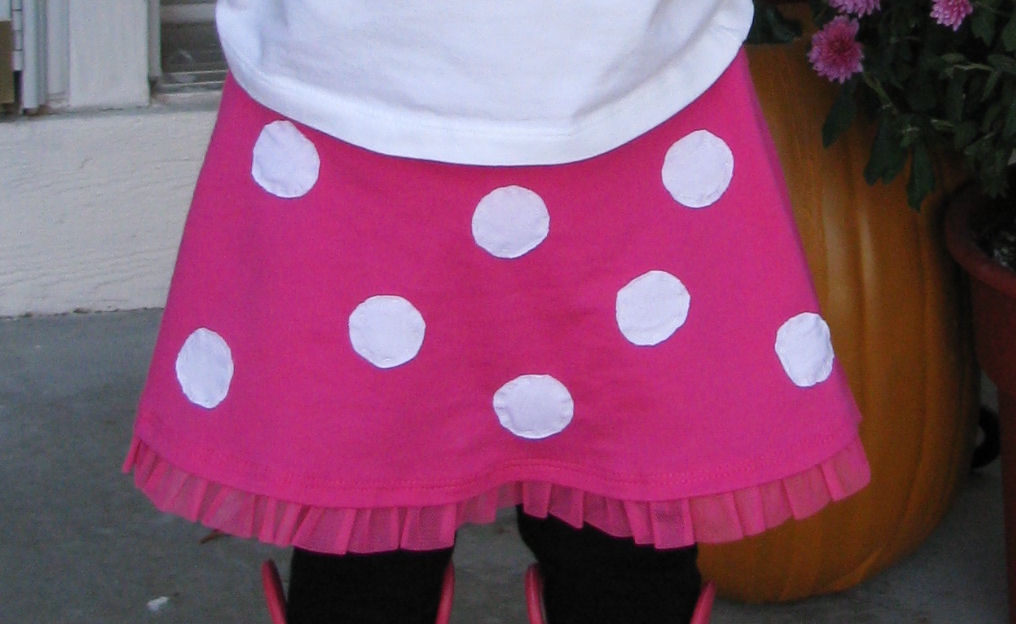
Then I made a skirt!

Before:


After:


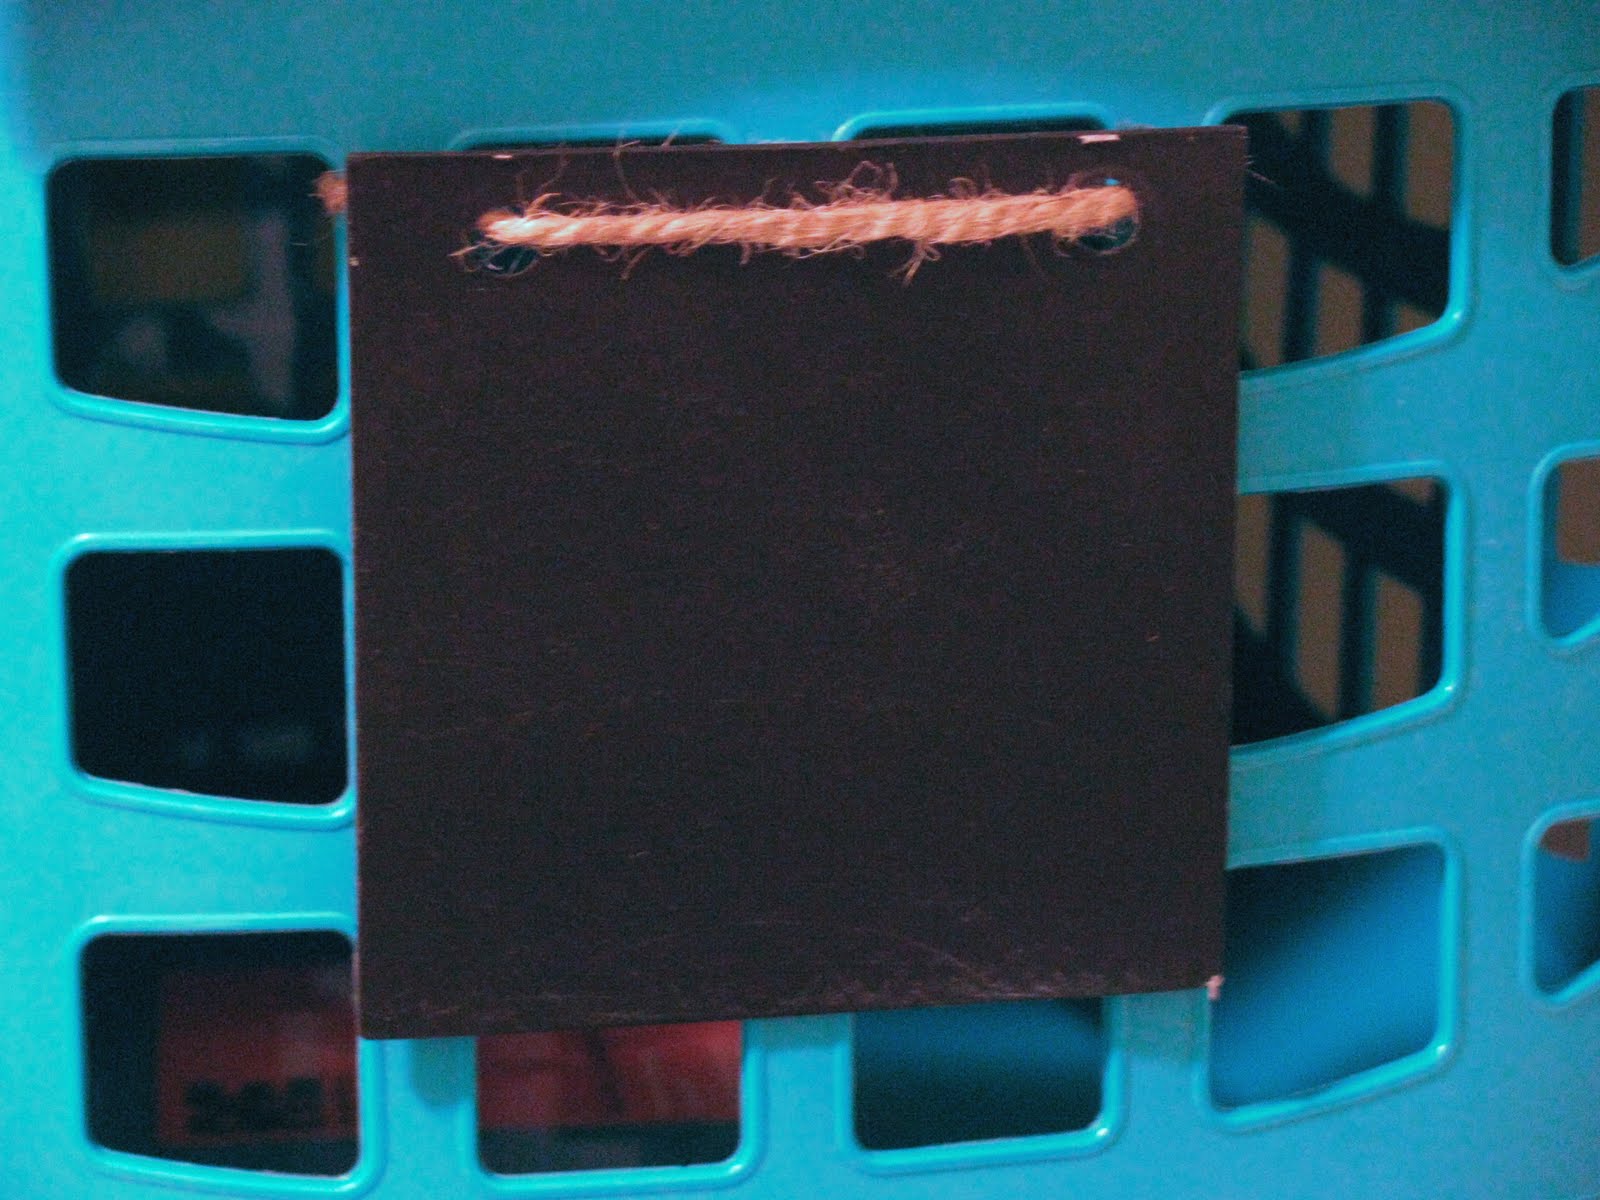
But, my MOST favorite project, was making little chalkboards to lable my laundry baskets.
I found these little chipboard squares at a local scrappbooking store in their clearance section.
They are actually suppose to be put together and made into a book, so they already had holes in them.

I sprayed them with a couple coats of chalkboard paint.
Tied them onto my baskets with jute.


Wrote the name of the basket contents and
AMAZING!
Sassy and my hubby are putting their dirty clothes in the correct locations! 


I was so excited that I found some regular cardboard, cut it into rectangles, painted them and attached them to some smaller baskets above. 

Oh I love my organized and bright laundry/mud room!


Wednesday, December 23, 2009

Cute Headband

I saw these flowers on the Hope Studios blog about a month ago. 

*** This is a Hope Studios Picture ***

Loved them from the moment I saw them and thought.... hmmm... wouldn't these make darling headbands for my girls?

Answer: YES!

Off to JoAnn's I went.

Supplies I used:

Satin ( I used 3 colors, cream, grey and pink)
Candle
Scissors
Needle and thread
Small beads
Inexpensive elastic headbands

Instructions:  I did not take pictures of my steps so go to Hope Studios by clicking here to see her beautifully detailed steps!

1. Cut your satin into many different sized circles. I stated with the biggest one and went from there using all 3 of my colors ~ no rhyme or reason ~ just make sure they gradually get smaller.  The more circles you use, the fuller your flower will be.

2.  Melt the edges of each circle using a candle.

3. At this point I grabbed my elastic headbands and  using the needle and thread, starting  from the back (I went through the headband and through all of my circles) pull the needle through to the top circle (smallest one). Once you are here, slide 3 beads onto the needle.  Continue sewing back and forth through the circle and in my case headband layers until you feel it is secure.

VOILA ~ a darling headband!

Check it out:


Wednesday, December 16, 2009

This is what I've been up to.


Saw a tutorial over at Hope Studios on how to make these babies.
(and yes, I am wearing more than one)

Mom's group gifts.
Teacher gifts.
Other people too.
and
Maybe one for myself.

So EASY!

(Although if you read the comments on her post, it sounds like some folks had troubles. Not me ~ easy peasy!  The hardest part for me? Cutting straight lines and yes, I have a rotary fabric cutter.  Get my point? EASY!  I did change one thing.  I used 3 yards of fabric on most of the ones I made.  I like the longer length.)

You'll have to go visit Jennifer though to find out how to make them!  Here you go, GET BUSY!

Tuesday, August 25, 2009

Key Chain

About a week ago, on a blog called U Create there was a fabric key chain tutorial ~ Isn't it cute?


I had to try to make them!
So, I gathered up my supplies and went to work.


Here are the two I made:


Well, what do you think?


I think they turned out pretty good ~ especially considering my sewing machine needle broke and I did not have one that was the correct size to replace it! OOPS.

Want to make your own?

Click on this link to get the detailed directions!


Should you decide to make one for yourself, I would love to see it! Send me a picture of your finished product to ordinarymol@hotmail.com